

Key Takeaways
- You only need your router, an ethernet cable, and your internet provider's modem to get started.
- Changing your network name and password during setup is essential for basic security.
- Most modern routers include a setup app that walks you through each step on your phone.
- Placing your router in a central, elevated location significantly improves Wi-Fi coverage.
- Updating the router's firmware after setup closes known security vulnerabilities.
What you will need
What a Router Actually Does (and Why Setup Matters)
A router is the device that takes the internet signal coming into your home — delivered by your ISP through a modem — and distributes it to every device you own. It manages traffic, assigns addresses to your devices, and acts as a basic firewall between your home network and the wider internet. For a deeper look at how these pieces fit together, see our guide to home networking basics.
Out of the box, a new router works — but it isn't secure. Default network names and passwords are generic, admin credentials are publicly known, and firmware may already be out of date. Completing a proper setup takes less than an hour and saves you from common problems down the road.
What you will need
Tools and Equipment You'll Need
Before you start, gather everything listed below. Having it all in front of you prevents interruptions mid-setup.
Router
The central device that distributes your internet connection wirelessly and via ethernet to your home devices.
Ethernet cable
Connects the router directly to your modem for a stable, wired signal during setup.
Modem or gateway
Translates your provider's internet signal into something a router can distribute. Often supplied by your ISP.
Smartphone with Wi-Fi
Used to run the router's companion app and complete the guided setup process.
Step-by-Step Setup
Follow these steps in order. Each one builds on the last, so skipping ahead can cause unnecessary troubleshooting later.
Position your router before you power anything on
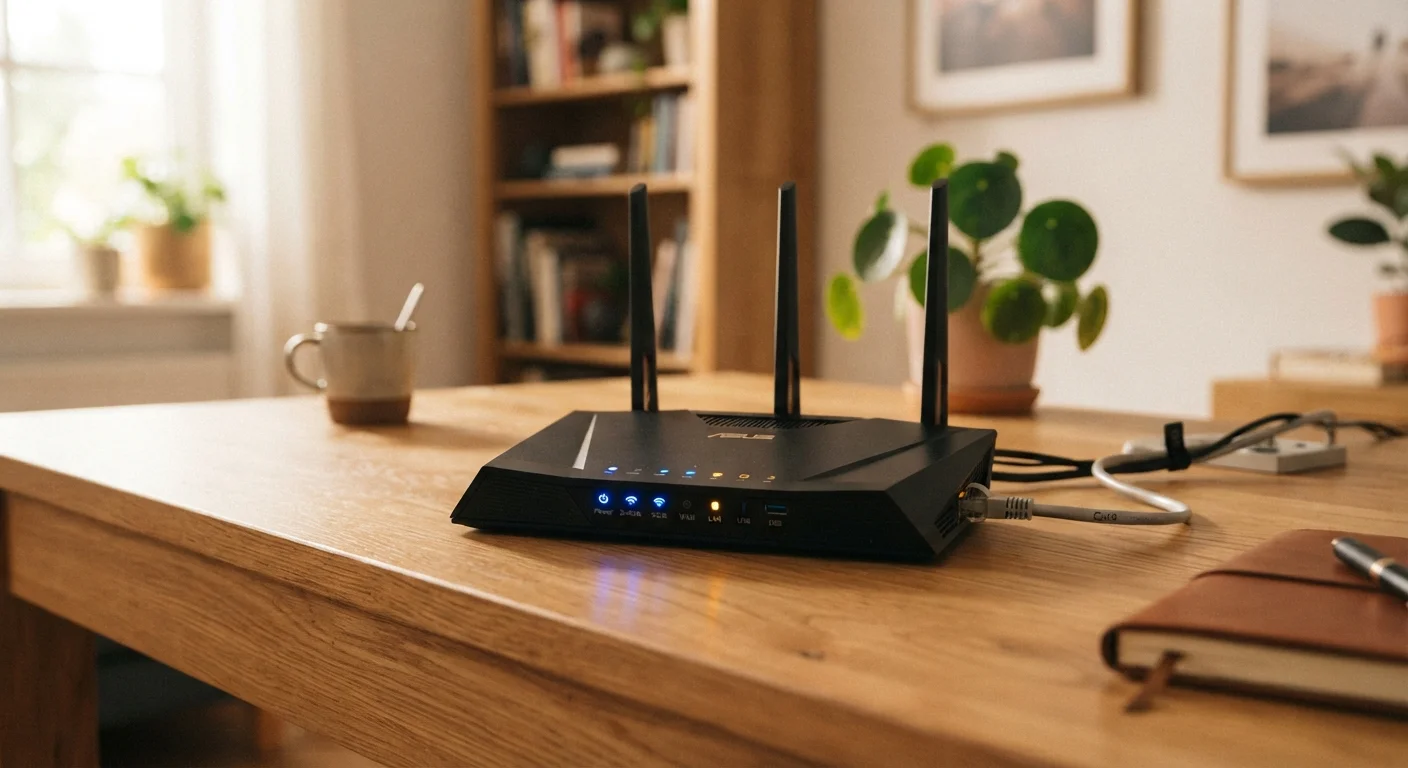
Choose a central location in your home — ideally on a shelf or elevated surface, away from thick walls, large metal appliances, and microwaves. Router signals spread outward in all directions, so placing it near the middle of your space (rather than a corner) gives devices throughout your home a stronger, more even signal.
Connect the router to your modem
Use an ethernet cable to connect your modem's output port (usually labeled LAN or Ethernet Out) to the port on your router labeled WAN or Internet — it is often a different color from the other ports. Then plug your router into power. Wait about 60 seconds for both devices to fully boot; indicator lights should stabilize.
Download the router's companion app or open the admin panel
Most current routers are configured through a smartphone app. Download the app named on the router's quick-start card. Alternatively, you can access the router's admin panel in any web browser by typing the router's default IP address — commonly 192.168.1.1 or 192.168.0.1 — into the address bar. Both the app and browser method will ask for the default admin username and password, which are printed on the label on the bottom of the router.
Set your Wi-Fi network name (SSID) and password
The default network name — called an SSID — often includes the router's brand and model number, which can reveal useful information to anyone scanning for nearby networks. Change it to something that does not identify you personally (avoid your full name or address). Then create a strong password: at least 12 characters mixing letters, numbers, and symbols. This password is what every device in your home will use to connect.
Change the router admin password
This is a separate password from your Wi-Fi password. It controls access to the router's settings page itself. Default admin credentials are publicly documented for most router models, meaning anyone connected to your network could potentially change your settings. In the admin panel under Administration or System Settings, replace the default password with a unique one.
Check for and install firmware updates
Firmware is the software that runs your router. Manufacturers release updates to fix security vulnerabilities and improve performance. In the admin panel or app, look for a section labeled Firmware Update or Software Update. If an update is available, install it now — before you connect other devices. Some routers can be set to apply updates automatically going forward, which is worth enabling.
Connect your devices and confirm everything is working
On each device — phone, laptop, smart TV, or otherwise — open the Wi-Fi settings and select your new network name. Enter the password you set in Step 4. Open a browser or app to confirm internet access. If a device won't connect, double-check the password for typos; passwords are case-sensitive.
Enable the 5 GHz Band If Available
Many modern routers broadcast on both 2.4 GHz and 5 GHz frequencies. The 5 GHz band offers faster speeds at shorter distances, while 2.4 GHz reaches farther but is more congested. Connecting laptops and streaming devices to the 5 GHz network and leaving smart home gadgets on 2.4 GHz is a practical way to balance performance across your household.
After Setup: What to Do Next
With your router running and secured, a few additional steps are worth considering. If guests frequently visit your home, a separate guest network lets them use your Wi-Fi without accessing your main devices — printers, smart home hubs, and personal computers stay isolated. Our guide to setting up a guest Wi-Fi network walks through the process on most common routers.
For a more thorough review of ongoing security practices — including how often to check for firmware updates and what other settings to review — see the home router security checklist. And if you're finding that signal doesn't reach certain rooms even with the router well-placed, it may be worth reading about mesh Wi-Fi versus a single router before investing in additional hardware.
Don't Skip Security Steps If You Rent
If you live in an apartment building or any shared-wall dwelling, your wireless signal is almost certainly detectable by neighbors. A strong, unique Wi-Fi password and a changed admin password are not optional extras — they are the minimum reasonable precautions for any shared-building setup. Leaving defaults in place is equivalent to leaving your front door unlocked.