

Key Takeaways
- DIY driveway sealing can cost significantly less than hiring a contractor for the same job.
- Proper surface prep - cleaning, crack filling, and dry conditions - determines how long the seal lasts.
- Mistakes such as uneven application or sealing too soon after paving can cause more harm than good.
- Asphalt driveways benefit most from sealing; concrete driveways have different and more limited options.
- Most homeowners can handle a straightforward asphalt sealing job with basic tools and a free weekend.
Significantly lower cost than hiring a contractor
DIY materials for a standard two-car driveway typically run $50-$150, compared to professional quotes that can reach several hundred dollars for the same job. The savings are real, particularly if you seal on a regular maintenance schedule.
Full control over timing and conditions
You can choose the optimal weather window - dry, mild days with no rain forecast - rather than working around a contractor's schedule during peak season.
Straightforward process on well-maintained surfaces
An asphalt driveway that's clean, crack-free, and in reasonable condition can be sealed by any capable adult following manufacturer instructions. No specialized trade skills are required.
Extends pavement life when done correctly
Regular sealing slows UV oxidation and water damage, potentially adding years to an asphalt driveway's usable life without requiring costly repaving.
Preparation errors ruin results quickly
Oil stains, embedded debris, or improperly cured crack filler all prevent the sealer from bonding correctly. Poor prep is the leading cause of premature peeling and wasted materials.
Weather windows are narrow and unforgiving
Sealer requires temperatures above 50°F, direct sunlight or warm ambient conditions, and a 24-48 hour dry period after application. Misjudging the forecast can ruin a freshly sealed surface.
Application mistakes are difficult to reverse
Applying sealer too thick causes it to remain tacky or peel; applying it unevenly leaves thin spots that fail earlier than the rest. Unlike paint, sealcoat mistakes aren't easily corrected mid-job.
Not appropriate for driveways with structural damage
Wide or deep cracks, heaving, and drainage problems are signs of underlying issues that sealer cannot fix. Applying sealer over serious damage may hide problems and delay necessary repairs.
Physical demands can be challenging
Sustained bending, pushing a squeegee over a large area, and working in warm conditions make this a moderately strenuous task. Those with mobility limitations may find it impractical.
Our Verdict
DIY driveway sealing is a genuinely worthwhile project for homeowners with a clean, relatively smooth asphalt surface and the patience to prep properly. It delivers real cost savings and gives you direct control over timing and quality. However, driveways with significant cracking, drainage issues, or concrete surfaces often benefit from professional assessment before any sealing is attempted.
Best suited for homeowners with a moderately weathered asphalt driveway, no major structural cracks, and the willingness to spend a day on surface prep and application.
What Driveway Sealing Actually Does
Driveway sealing - often called sealcoating - applies a thin protective layer over an asphalt surface to slow oxidation, resist water intrusion, and protect against fuel and oil spills. It doesn't repair structural damage or add meaningful thickness to a failing driveway; it's a maintenance step, not a renovation.
Asphalt naturally oxidizes when exposed to UV light, causing it to turn gray, become brittle, and eventually crack. A sealer slows this process by creating a barrier between the pavement and the elements. Most professionals recommend sealing an asphalt driveway every two to four years, depending on climate and traffic load. It's worth noting that concrete driveways use different products - penetrating sealers or film-forming coatings - and the process and results differ considerably from asphalt sealcoating.
Understanding what sealing can and can't do is the most important first step before deciding whether to tackle it yourself. See our homeowner's decision guide for a broader framework on evaluating home maintenance tasks.
The Case For Doing It Yourself
Significantly lower cost than hiring a contractor
DIY materials for a standard two-car driveway typically run $50-$150, compared to professional quotes that can reach several hundred dollars for the same job. The savings are real, particularly if you seal on a regular maintenance schedule.
Full control over timing and conditions
You can choose the optimal weather window - dry, mild days with no rain forecast - rather than working around a contractor's schedule during peak season.
Straightforward process on well-maintained surfaces
An asphalt driveway that's clean, crack-free, and in reasonable condition can be sealed by any capable adult following manufacturer instructions. No specialized trade skills are required.
Extends pavement life when done correctly
Regular sealing slows UV oxidation and water damage, potentially adding years to an asphalt driveway's usable life without requiring costly repaving.
The financial argument for DIY sealing is straightforward. A five-gallon bucket of quality asphalt sealer typically covers 250 to 500 square feet, and most standard two-car driveways require two to four buckets - a materials cost that is a fraction of professional contractor quotes for the same area. When the driveway is in good baseline condition, the labor itself is not technically demanding.
Timing flexibility is another genuine benefit. Contractors often book weeks out during peak season (late spring through early fall). Doing it yourself means you can choose a stretch of dry, mild weather that suits your schedule - a critical factor since proper curing requires at least 24 to 48 hours without rain.
Where DIY Sealing Can Go Wrong
Preparation errors ruin results quickly
Oil stains, embedded debris, or improperly cured crack filler all prevent the sealer from bonding correctly. Poor prep is the leading cause of premature peeling and wasted materials.
Weather windows are narrow and unforgiving
Sealer requires temperatures above 50°F, direct sunlight or warm ambient conditions, and a 24-48 hour dry period after application. Misjudging the forecast can ruin a freshly sealed surface.
Application mistakes are difficult to reverse
Applying sealer too thick causes it to remain tacky or peel; applying it unevenly leaves thin spots that fail earlier than the rest. Unlike paint, sealcoat mistakes aren't easily corrected mid-job.
Not appropriate for driveways with structural damage
Wide or deep cracks, heaving, and drainage problems are signs of underlying issues that sealer cannot fix. Applying sealer over serious damage may hide problems and delay necessary repairs.
Physical demands can be challenging
Sustained bending, pushing a squeegee over a large area, and working in warm conditions make this a moderately strenuous task. Those with mobility limitations may find it impractical.
The most common failure point in DIY sealing isn't the application - it's the prep work. Skipping or rushing the cleaning stage (removing oil stains, debris, and old loose material) almost guarantees poor adhesion and early peeling. Crack filling is equally important; sealer applied over unfilled cracks simply bridges them temporarily before cracking again.
Application errors are also easy to make without experience. Applying sealer too thick causes it to stay tacky, peel, or track into the home. Applying too thin leaves coverage gaps. Environmental misjudgments - sealing when rain is forecast, when temperatures drop below 50°F, or when the driveway is in direct shade and stays damp - can ruin an entire job.
Don't Seal a Brand-New Driveway Too Soon
Freshly laid asphalt contains oils that need time to evaporate and allow the surface to harden properly. Sealing too early can trap those oils, causing softness or adhesion failure. Most paving professionals recommend waiting at least 90 days before sealing new asphalt - and up to a full year in cooler climates. Check with whoever installed your driveway for their specific recommendation.
It's also worth flagging that brand-new asphalt should not be sealed immediately. Most paving professionals recommend waiting at least 90 days - and up to a full year in cooler climates - to allow the asphalt to fully cure and off-gas before sealer is applied.
What the Job Actually Requires
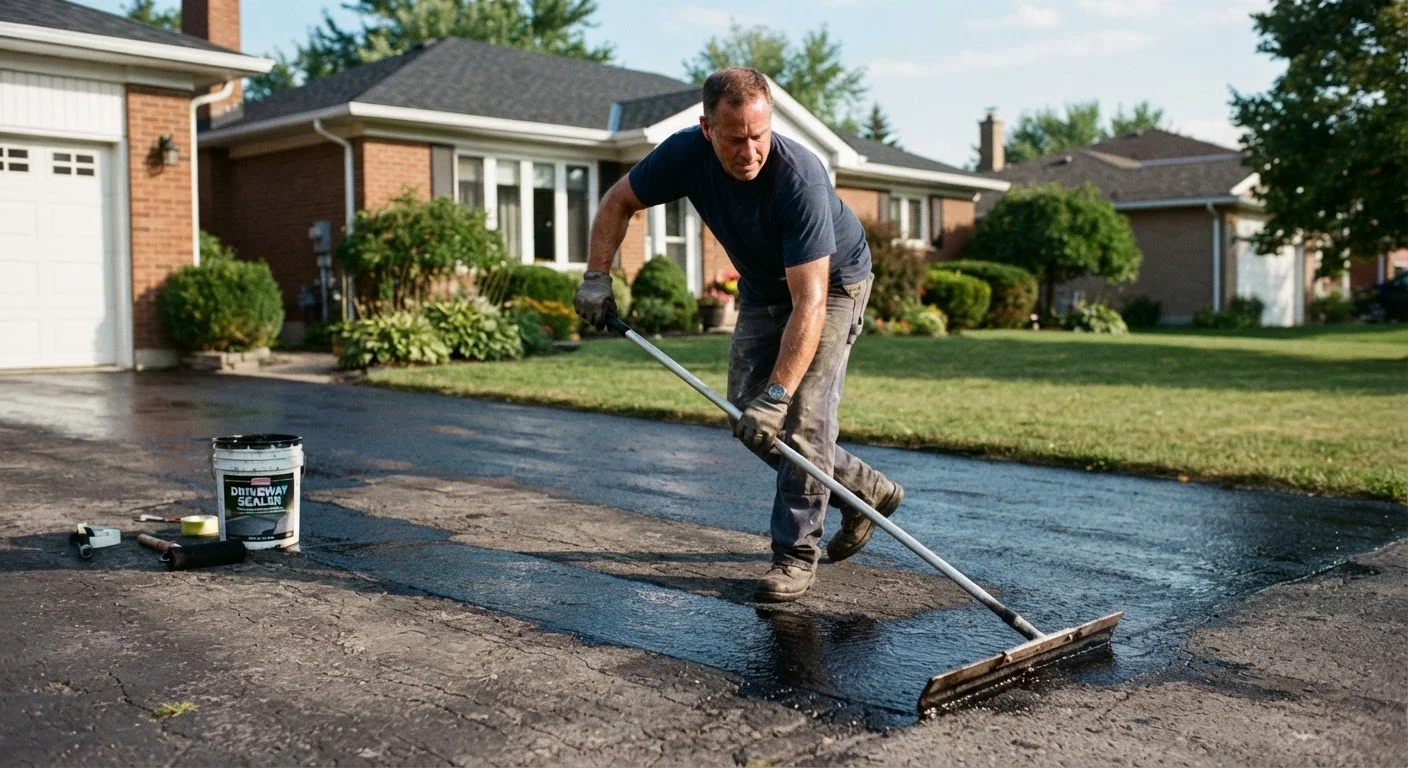
A successful DIY sealing project typically involves the following steps: pressure washing the entire surface, treating oil spots with a degreaser or primer, filling any cracks with an appropriate crack filler (allowed to cure fully), and then applying sealer in two thin, overlapping coats using a squeegee or brush applicator.
Plan for a minimum of two days: one for cleaning and crack filling, one for sealing and initial cure. Block off the driveway for at least 24 hours after the final coat - 48 hours is safer in humid conditions. Basic protective gear (gloves, old clothing, and eye protection) is advisable since sealcoating products contain chemicals that can irritate skin and eyes.
The job is physically manageable for most adults, but it does involve sustained bending and pushing, and working in warm weather adds fatigue. If you have mobility concerns or a very large surface area, a professional service may be worth the added cost. Just as choosing the right sealing method for drafts depends on the gap type, choosing the right approach for your driveway depends on its current condition and your realistic prep capacity.
2-4 years
Recommended resealing interval for asphalt driveways
Industry guidance from pavement maintenance organizations suggests this range varies based on climate severity, traffic load, and the quality of previous applications.
90 days
Minimum wait before sealing new asphalt
Paving professionals generally advise waiting at least 90 days - and up to one year in northern climates - before applying any sealer to newly installed asphalt.