

Key Takeaways
- Ground moisture is the leading cause of crawl space dampness, not just outdoor humidity.
- A vapor barrier installed on the ground is one of the most effective first-line defenses.
- Poor exterior drainage often drives crawl space moisture problems from the outside in.
- Ventilation strategies vary by climate - what works in one region can backfire in another.
- Persistent moisture, mold, or wood rot typically require a licensed professional to assess.
Why Crawl Space Moisture Is a Serious Problem
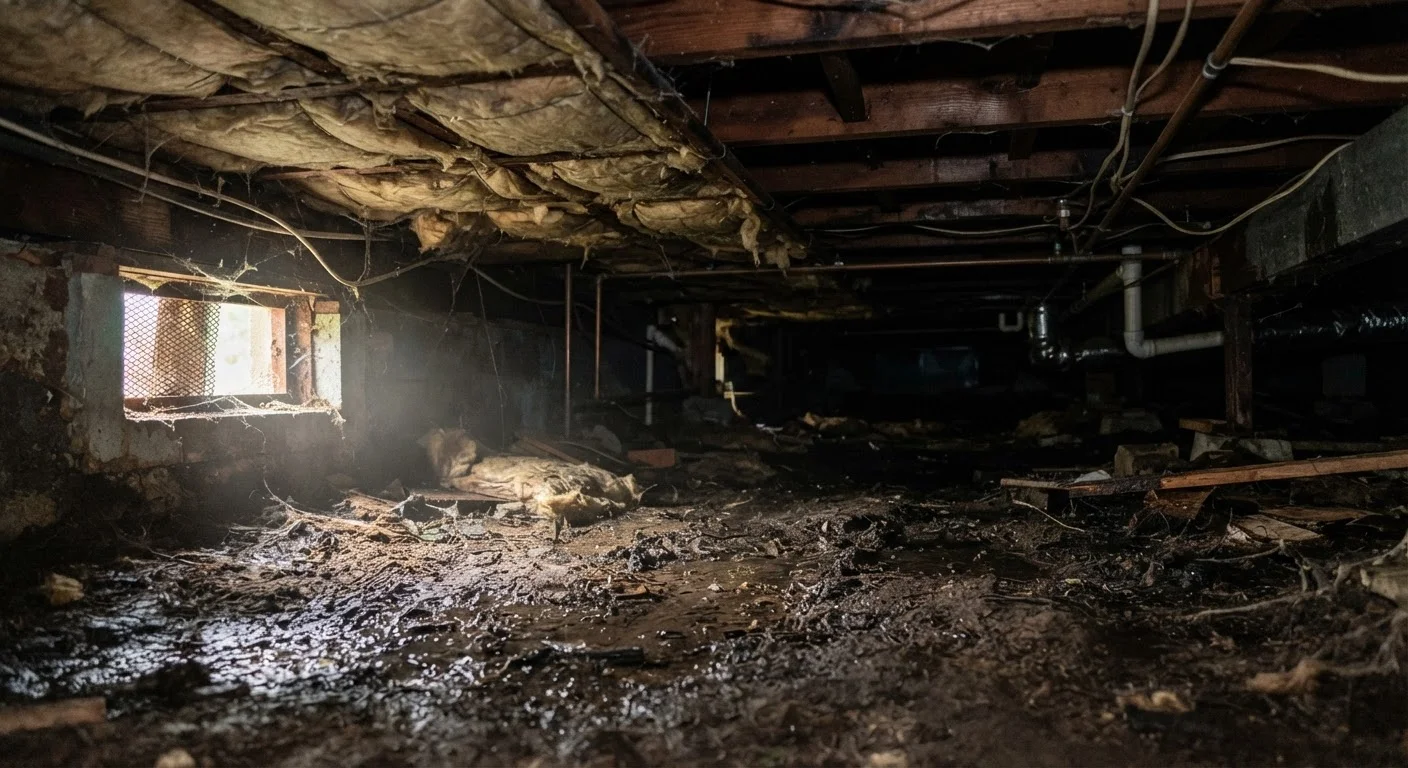
A crawl space may be out of sight, but what happens there affects the entire house. Excess moisture in this under-floor zone can rot structural wood, corrode metal fasteners, promote mold growth, and create conditions favorable to pests like termites and rodents. Over time, unchecked dampness can compromise floor joists and the structural integrity of the home above.
Moisture in a crawl space typically comes from three sources: water vapor rising from bare soil, outdoor humid air entering through foundation vents, and liquid water intrusion from poor grading or drainage around the foundation. Identifying which source is at work in your home is the starting point for solving the problem effectively. If you've noticed musty odors indoors, bouncy or soft floors, or visible condensation under the house, those are common indicators that moisture levels are too high.
If your home also shows signs of water pooling around the foundation or downspouts discharging too close to the house, it's worth reading about recognizing drainage warning signs before they worsen the situation underground.
Proven Practices for Controlling Crawl Space Moisture
The following practices reflect widely accepted approaches used by home inspectors and contractors. Not every method applies to every home - local climate, soil type, and crawl space configuration all matter. When in doubt, consult a licensed contractor or home inspector before making significant changes.
Install a ground-cover vapor barrier across the entire crawl space floor.
Bare soil releases significant amounts of water vapor into the air beneath your home. A polyethylene sheeting barrier (commonly 6-mil or heavier) physically blocks this evaporation at its source, reducing ambient humidity under the floor substantially.
Ensure gutters and downspouts direct water at least 6 feet away from the foundation.
Roof runoff that discharges close to the house saturates the soil near the foundation, increasing hydrostatic pressure and allowing water to seep toward the crawl space. Extending downspout discharge is one of the lowest-cost interventions with meaningful impact.
Grade soil around the foundation so it slopes away from the house.
Flat or inward-sloping ground allows rainwater to pool against the foundation and gradually migrate inward. A consistent downward slope away from the house encourages surface water to drain away before it can infiltrate.
Inspect and seal foundation vents, pipes, and utility penetrations for gaps.
Small openings in the foundation wall and around plumbing or electrical entries allow outdoor air - and sometimes pests - to enter freely. Sealing these with appropriate materials reduces uncontrolled air exchange and the moisture it carries.
Monitor crawl space humidity regularly with an inexpensive hygrometer.
You cannot manage what you don't measure. Placing a simple humidity meter in the crawl space lets you track whether conditions are improving or worsening over time, helping you catch problems before they become structural issues.
Ventilation: A Nuanced Question
For decades, the standard advice was to vent crawl spaces to the outside to let moisture escape. Research and building science have complicated that picture. In humid climates, open vents can actually draw in warm, moisture-laden air that condenses on cooler surfaces inside the crawl space - making conditions worse, not better.
Many building codes now recognize encapsulated (sealed) crawl spaces as a preferred approach in humid regions. In dry climates, passive ventilation may still be appropriate. The right answer depends on your specific location and home. A licensed contractor familiar with local building codes can recommend what's appropriate for your situation. Check with your local building department, as ventilation requirements may be regulated and permits may be required for encapsulation work.
When to Call a Professional
If you find standing water, significant mold growth, soft or discolored floor joists, or evidence of pest damage in your crawl space, stop and consult a licensed contractor or structural inspector before attempting any DIY fixes. These conditions may indicate problems that go beyond moisture management and could require permitted remediation work. Mold remediation in particular is a task that often warrants professional handling to protect indoor air quality.
Moisture control under the house is one part of a broader home sealing strategy. If you're also dealing with drafts or air infiltration at windows and doors, our guide on choosing between caulk and weatherstripping covers those situations in detail.
Quick Actions to Take Right Now
Crawl space maintenance connects to the broader envelope of your home. Just as moisture can sneak in through poor drainage below, it can also enter through a deteriorating roof above. Our article on inspecting your roof from the ground explains what to look for without ever climbing a ladder.
This article is for general informational and educational purposes only. It does not constitute professional construction, engineering, or legal advice. Crawl space conditions vary significantly by home, region, and soil type. Always verify local building code requirements and consult a licensed contractor or home inspector before undertaking significant moisture control work.