

Key Takeaways
- A pre-purchase inspection at a trusted mechanic costs far less than a surprise repair after the sale.
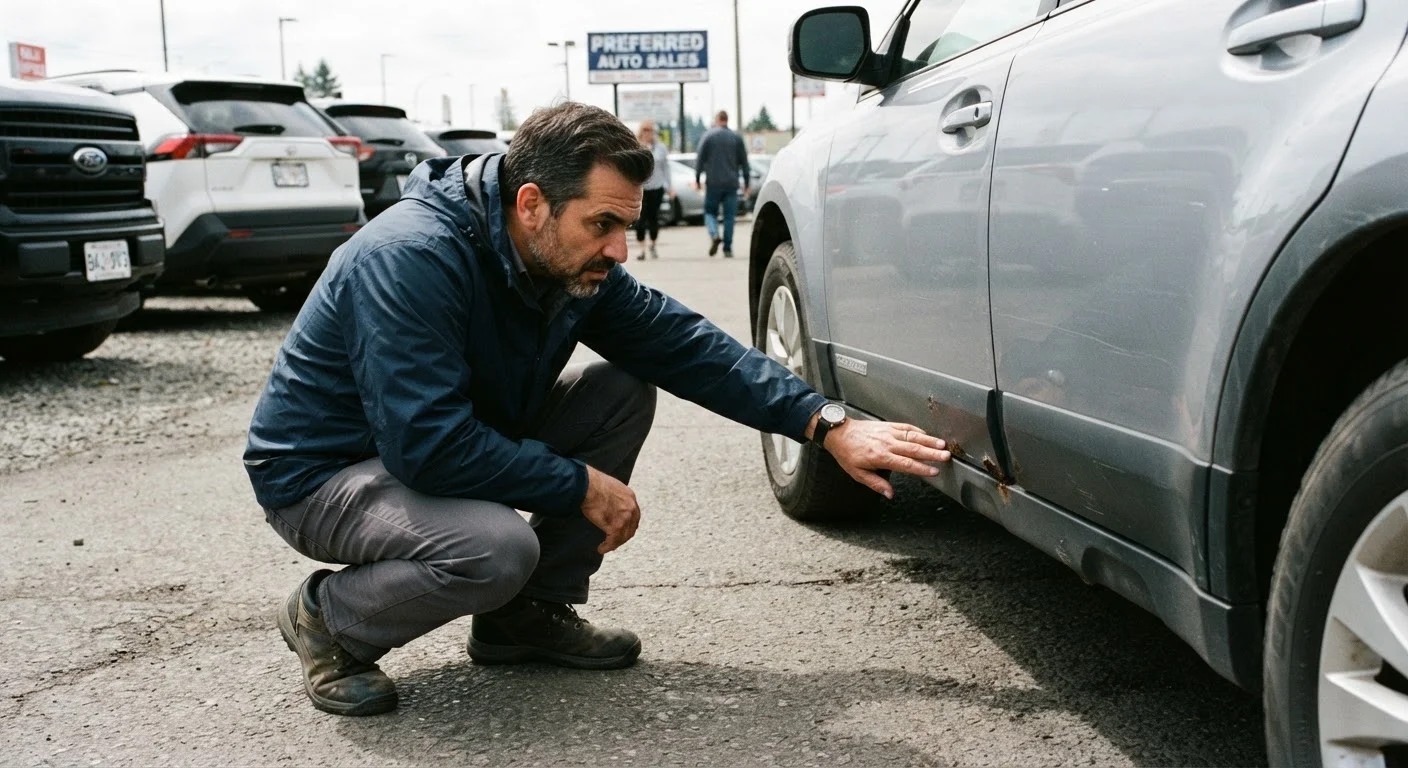
- Rust, mismatched paint, and uneven panel gaps are signs of prior collision damage - look carefully.
- Always run a vehicle history report and verify the VIN against the title and dashboard.
- Test every electrical system, HVAC control, and driver-assist feature during the test drive.
- Walk away if the seller refuses a mechanic inspection or pressures you to decide on the spot.
Summary
22 items · 45-90 minutes on-site
Why a Pre-Purchase Inspection Is Non-Negotiable
Buying a used vehicle without a systematic inspection is one of the most common - and costly - mistakes everyday car buyers make. A vehicle that looks clean on the surface can hide frame damage, flood history, or a failing transmission. This checklist gives you a structured process to evaluate any used car before money changes hands, whether you're at a franchise dealership or a private seller's driveway.
For a broader framework on vetting any major purchase, see our general pre-purchase checklist. If you want a deeper dive into documents and negotiation tactics, our used car buying guide covers those angles in detail. And if you're still weighing your options on where to buy, comparing private sellers to dealerships lays out the real trade-offs.
Flashlight or Inspection Light
Illuminate wheel wells, undercarriage, and engine bay areas that are hard to see in normal light.
Vehicle History Report Service
Reveals prior accidents, ownership history, odometer rollbacks, salvage titles, and open recalls using the VIN.
OBD-II Code Reader
Plug into the vehicle's diagnostic port to check for stored or pending fault codes that may not trigger a warning light.
Tire Tread Depth Gauge
Measures remaining tread on all four tires accurately - more reliable than the penny test alone.
Independent Mechanic (PPI)
Performs a thorough pre-purchase inspection on a lift, identifying issues invisible to an untrained eye.
How to Use This Checklist
Work through the groups in order - exterior before interior, documents before the test drive. Bring a flashlight, a notepad, and a phone with a camera. If anything raises a flag, document it with photos and note the exact location. Do not rely on memory when reviewing multiple vehicles.
Never Skip the Independent Mechanic Step
Even if you're mechanically experienced, a pre-purchase inspection on a lift reveals problems that are simply not visible from ground level - including hidden frame damage, leaking axle seals, and compromised subframe mounts. The cost of a PPI is typically a small fraction of what a single missed repair could run. If a seller refuses to allow an independent inspection, that refusal itself is a serious red flag.
Plan on spending at least 45 minutes at the vehicle before deciding anything. If a seller tells you another buyer is coming in an hour, treat that as a pressure tactic, not a reason to rush. A legitimate seller will give you time to inspect properly.
High-Pressure Sales Tactics Are a Red Flag
If a seller claims another buyer is ready to close, that they can only hold the car for an hour, or that the price will increase tomorrow, these are common pressure tactics. A vehicle worth buying will still be worth buying after a proper inspection. Never let urgency substitute for due diligence on a purchase of this size.
Once you've worked through this checklist yourself, budget for a pre-purchase inspection (PPI) by an independent mechanic - typically $100-$200 - before finalizing any deal. That single step has prevented more costly mistakes than any other part of the process.
Documents & History
Exterior Inspection
Under the Hood
Interior & Electronics
Test Drive
After the Inspection: Next Steps
If the vehicle passes your checklist and the independent mechanic's review, you're in a strong position to proceed. Use any issues the inspection surfaces as negotiating information - not necessarily deal-breakers, but data points. A vehicle needing four new tires and a brake job has a real cost attached to it.
Keep this checklist handy before your next road trip too. Our road trip vehicle safety checklist covers the ongoing maintenance checks that keep a vehicle reliable once you own it.
This article is for general informational purposes only and does not constitute professional mechanical, legal, or financial advice. Always consult a qualified, licensed mechanic for vehicle inspections and a licensed professional for legal or financial decisions related to vehicle purchases.