

Key Takeaways
- Clear countertops by keeping only daily-use appliances out; store everything else.
- Sort cabinet contents by frequency of use, placing everyday items at eye level.
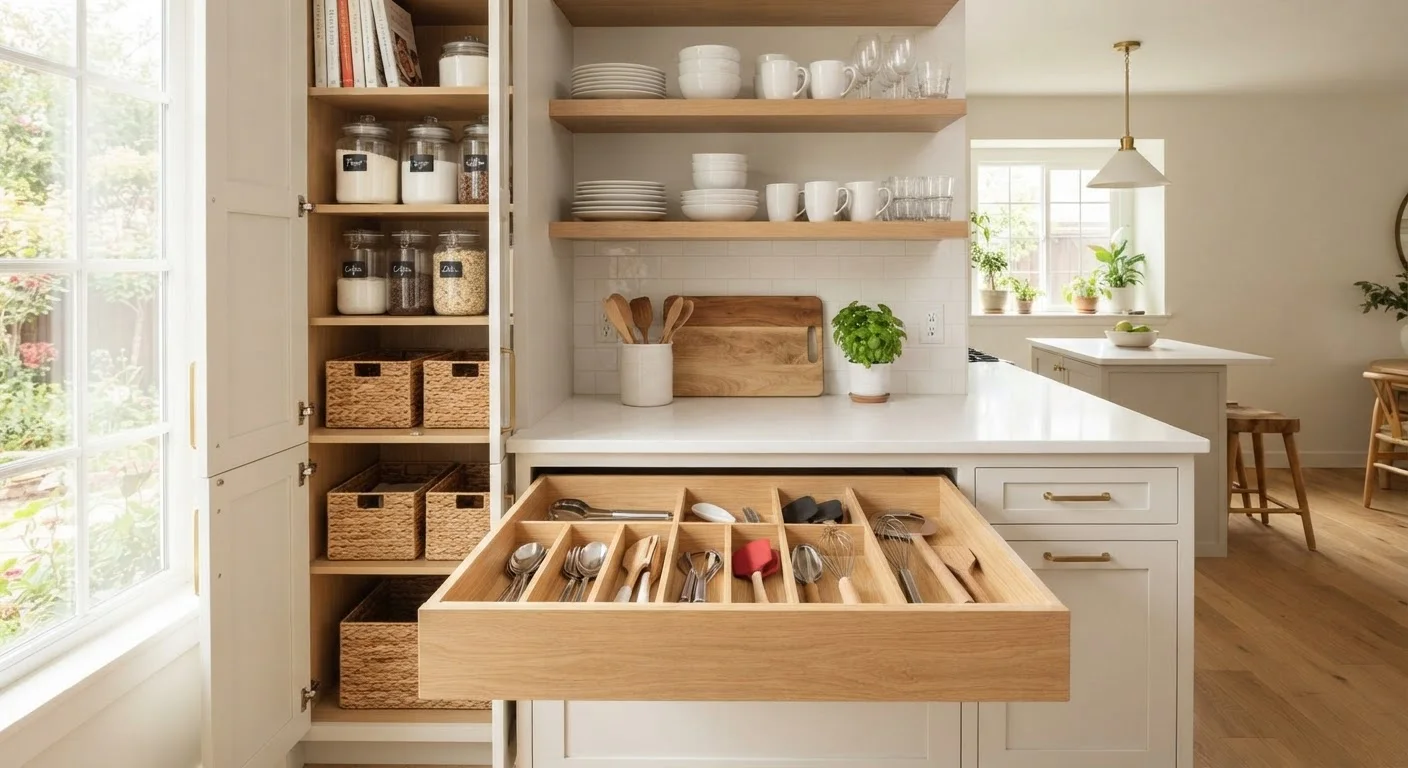
- Use drawer dividers to give every utensil and tool a defined home.
- Declutter expired or duplicate items before organizing - not after.
- Maintenance habits matter as much as the initial organizing session.
What you will need
Why the Kitchen Is the Hardest Room to Keep Organized
The kitchen collects clutter faster than almost any other room because it serves so many overlapping purposes - meal prep, coffee rituals, mail dropping, homework, snacking. Objects migrate in and rarely migrate out. Add in the sheer volume of items most households own (duplicated tools, inherited gadgets, impulse purchases), and surfaces fill up quickly.
Understanding this pattern is the first step. If you're starting fresh with organization principles, the core decluttering concepts guide offers a useful foundation before diving into a room-specific project. For a broader room-by-room strategy, you can also explore a complete home organization walkthrough that covers spaces beyond the kitchen.
Trash bags
Collect expired food, broken tools, and items headed for the bin.
Cardboard boxes or baskets
Temporarily hold items to donate, relocate to another room, or decide on later.
Drawer dividers or small bins
Create defined compartments inside drawers so utensils stay sorted.
Sticky notes and a marker
Label zones during sorting so you can quickly see what belongs where.
Label maker or adhesive labels
Provide permanent, easy-to-read labels for bins and shelf sections.
What You'll Need Before You Begin
Gathering your materials before starting prevents mid-session interruptions that often derail progress. You don't need expensive organizers to get results - the most important tools are bags for trash, boxes for donations, and a few hours of uninterrupted time.
What you will need
On the question of labels and tracking systems, households vary widely. Some people find digital inventory apps genuinely helpful for pantry items; others do better with a simple label maker and physical labels. If you're unsure which approach fits your style, this comparison of digital tools versus physical labels can help you decide without overthinking it.
Step-by-Step: Clearing and Organizing Your Kitchen
Follow these steps in order. Skipping ahead - particularly past the discard phase - is the most common reason kitchen organization projects don't hold. Work through the full sequence even if it feels slower than expected.
Clear every surface completely before sorting
Remove everything from your countertops, then open each cabinet and pull out all items onto a cleared table or floor space. Working with everything visible prevents the common mistake of organizing around hidden clutter. This full-empty approach lets you see exactly what you own before deciding what stays.
Discard, donate, and relocate before organizing
With everything out, go through each pile critically. Discard any items that are expired, broken beyond repair, or haven't been used in over a year. Set aside duplicates - most kitchens need one or two of any given utensil, not five. Move items that don't belong in the kitchen (extra batteries, mail, craft supplies) to their proper rooms now.
Reclaim your countertops with a strict daily-use rule
Countertops are prime workspace, not storage. Return only the appliances and tools you use every single day - a coffee maker, a toaster, or a knife block, for example. Everything else, regardless of how often you think you might use it, goes into a cabinet. Fewer objects on the counter means less visual noise and easier cleaning.
Assign cabinets by frequency of use
Organize cabinets around a simple hierarchy: items you use daily go at eye level and within easy reach; items used weekly go on higher or lower shelves; items used rarely (a turkey roaster, a punch bowl) move to the highest shelves or a pantry. Group categories together - baking supplies, pots and lids, dry goods - so you always know where to look.
Build a logical drawer system with dividers
Assign each drawer a single category: one for cooking utensils, one for cutlery, one for miscellaneous tools like a vegetable peeler or thermometer. Use dividers - even repurposed small containers work - to keep categories separated within each drawer. Every item should have a defined slot so it's easy to find and, crucially, easy to put back in the right place.
Label zones and build a maintenance habit
Once everything has a home, label shelves or bins clearly - especially in shared households where multiple people put things away. Labels reduce the gradual drift that causes systems to collapse over time. Set a brief monthly habit of scanning countertops and cabinets for items that have wandered, and do a quick reset before they accumulate again.
One Zone at a Time Works Better
If a full kitchen overhaul feels overwhelming, tackle one zone per session: countertops one day, one cabinet the next. Partial progress is still real progress, and smaller sessions are easier to sustain. Completing a section gives you momentum to continue.
If you share your kitchen with children, be realistic about what's achievable. Lower cabinets and accessible drawers will naturally get disrupted more often. The article on organizing with children at home addresses kid-specific strategies that complement what's covered here.
Keeping It Working After Day One
The initial organizing session is the starting point, not the finish line. Without a few simple maintenance habits, most kitchens drift back toward clutter within a few weeks. The good news is that maintenance requires far less time than the original overhaul - typically five to ten minutes a week.
Don't Buy Storage Before You Declutter
It's tempting to shop for organizers, bins, and drawer inserts before the decluttering is done. Buying first often means buying the wrong size or quantity, wasting money on containers for items you'll later remove. Finish the sort-and-discard phase first, measure your actual spaces, then shop for what you genuinely need.
Organize for Your Real Habits, Not an Ideal
The most efficient kitchen layout is one that matches how your household actually cooks, not how an organizing blog says it should look. If you bake every weekend, baking tools belong front and center - not tucked away because they look messy. Honest self-assessment about daily routines produces systems that hold up over time.
If your kitchen storage feels fundamentally limited - not just disorganized - you may want to weigh the structural trade-offs of your current setup. A closer look at open shelving versus closed cabinets breaks down the practical differences that affect how a kitchen actually functions day to day. For a broader sense of how organization fits into home décor, the Interior & Décor hub offers approachable ideas for making any living space feel more inviting and functional.