

Key Takeaways
- Most wearables pair through a companion app, not the phone's main Bluetooth settings menu.
- Granting location, notification, and health permissions is essential for full functionality.
- Keeping both device firmware and the companion app updated prevents most sync failures.
- Android and iOS handle permissions differently, but the overall pairing sequence is nearly identical.
- A force-restart of the wearable and a fresh app launch resolves the majority of pairing hiccups.
What you will need
Why the Setup Process Matters More Than You'd Expect
A wearable is only as useful as its connection to your phone. When pairing is done correctly, your smartwatch or tracker gets real-time notifications, accurate location data for workouts, and seamless health data logging. When it's done incorrectly — or partially — features drop out in ways that aren't always obvious. Notifications might stop arriving, GPS tracks may fail to save, or the step count visible on your wrist may never make it to the app's dashboard.
If you haven't yet decided between a full smartwatch and a fitness tracker, our comparison article Smartwatch vs. Fitness Tracker: Which One Fits Your Life? can help you think through which device suits your daily routine before you commit to a setup process. And if you're still evaluating whether a wearable is the right move at all, Things Worth Checking Before You Commit to a Wearable Device covers compatibility and ecosystem questions worth resolving first.
What you will need
What You'll Need Before You Begin
The tools required are minimal, but a few preparation steps will prevent the most common setup failures.
Companion app
The manufacturer's dedicated app that manages pairing, syncing data, and configuring settings on your wearable.
Bluetooth
The short-range wireless protocol that connects your wearable to your phone for real-time data sync and notifications.
Internet connection (Wi-Fi recommended)
Required during initial setup to download firmware updates and complete account registration.
Charging cable for the wearable
Ensures the device doesn't power off mid-setup, which can interrupt the pairing process.
Before starting, confirm your phone's operating system is reasonably current — most companion apps require iOS 16 or Android 10 or later, though the exact requirement varies by device. You can check your phone's OS version in Settings → About Phone (Android) or Settings → General → About (iOS).
Step-by-Step: Pairing Your Wearable
Follow these steps in order. Skipping ahead — particularly around permissions and firmware — accounts for the majority of pairing problems reported by new wearable owners.
Companion App Is the Only Correct Pairing Path
Attempting to pair a wearable directly through your phone's Bluetooth settings (outside the companion app) will usually result in an incomplete bond that breaks within hours. Always initiate and complete the full pairing sequence inside the manufacturer's app. If you've already paired via system settings and are experiencing issues, unpair from both places and restart the process through the app.
Download and open the companion app
Every major wearable — whether it tracks fitness or runs full apps — uses a dedicated companion app on your phone. Search the App Store or Google Play for the app name listed in your device's packaging. Install it, open it, and create an account if prompted. Do not attempt to pair from your phone's main Settings → Bluetooth screen; that shortcut almost always causes connection errors with wearables.
Power on and prepare the wearable
Hold the side button (or follow the on-screen prompt) to power on your wearable. Many devices display a pairing screen or a Bluetooth icon automatically on first boot. If yours has already been set up before, navigate to Settings → About → Factory Reset (the exact path varies by brand) to clear any previous phone associations before re-pairing.
Start the pairing process in the app
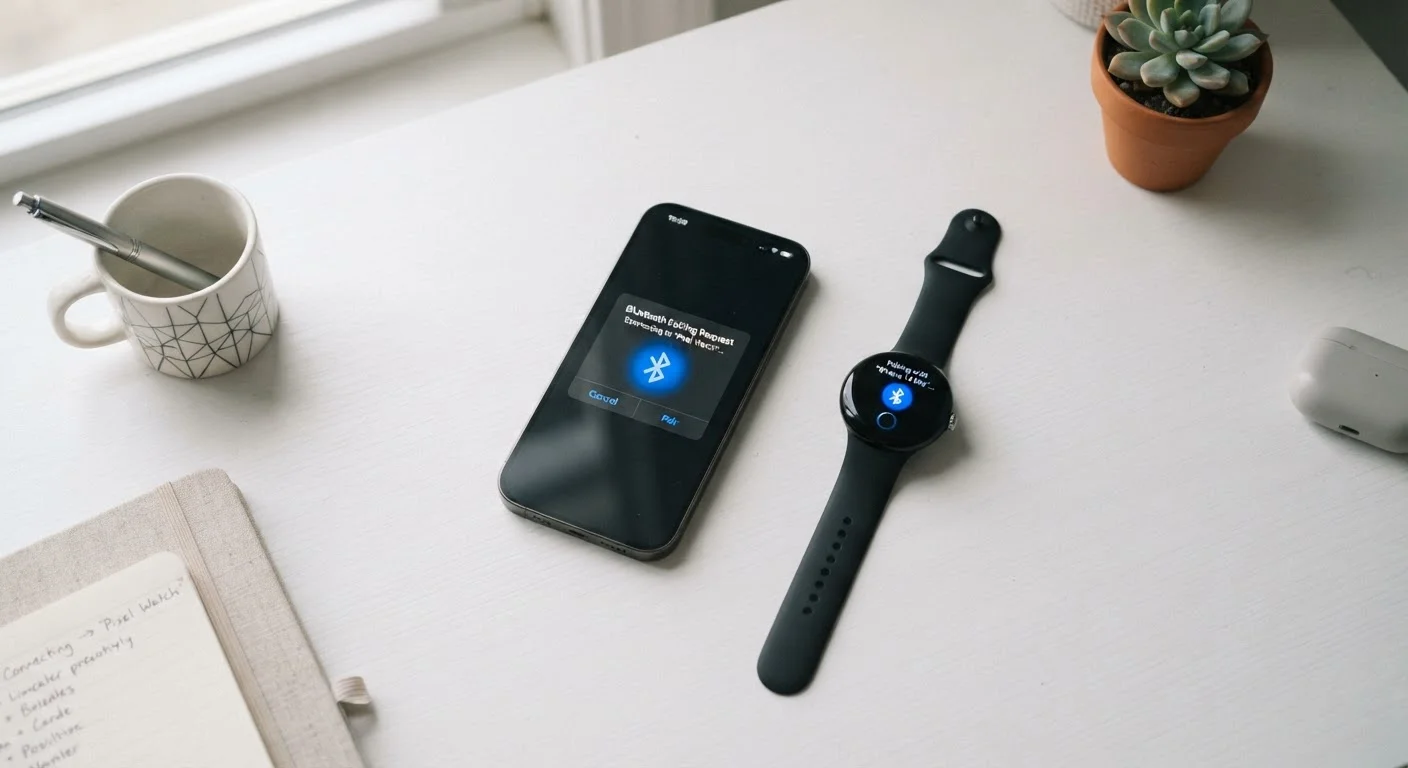
In the companion app, look for an option such as Add Device, Set Up a New Device, or a + icon. The app will instruct you to enable Bluetooth on your phone if it isn't already on. Follow the in-app prompts — the app scans for nearby devices and should detect your wearable by name within a few seconds.
Confirm the pairing code
Your phone and wearable will each display a short numeric code. Verify that both codes match, then tap Confirm or Pair on your phone. This code-matching step — part of Bluetooth's standard pairing protocol — ensures your phone bonds to your wearable and not a neighbor's device.
Grant all required permissions
After pairing, the app will request several permissions. These typically include:
- Location — needed to log GPS routes and, on Android, is technically required for Bluetooth device scanning
- Notifications — so the wearable can mirror calls, texts, and app alerts from your phone
- Health & Fitness / Motion & Fitness — grants the app access to step counts, heart rate data, and activity metrics
- Background App Refresh (iOS) — allows the app to sync data even when you're not actively using it
Denying any of these will silently disable the related feature. You can adjust permissions later in your phone's Settings → Privacy menu.
Install firmware updates
Once paired, the app will typically check for a firmware update — a software update stored on the wearable itself. Accept and install it. Firmware updates fix connectivity bugs, improve sensor accuracy, and sometimes unlock new features. Keep the wearable on its charger and the phone nearby until the update completes; interrupting a firmware update can corrupt the device software.
Verify sync and customize settings
Wear the device and take a short walk, then open the companion app and confirm that step counts and heart rate data have populated. From there, configure notification preferences, clock faces, and workout detection to match your routine. Your wearable is now fully paired and ready to use.
Troubleshooting a Stubborn Pairing
If your wearable won't appear in the app scan, try this sequence: turn Bluetooth off and back on, force-close and reopen the companion app, then restart the wearable by holding its button for 10–15 seconds. If it still fails, check that the companion app has location permission enabled — on Android in particular, Bluetooth scanning is tied to location access and will silently fail without it.
Common Problems and How to Fix Them
Even with careful setup, a few issues come up regularly:
- Device not found during scan: Confirm the wearable is in pairing mode (usually indicated by a blinking icon or on-screen prompt). Restart both the wearable and the app.
- Sync stops working after a few days: On Android, check that battery optimization is disabled for the companion app. On iOS, verify Background App Refresh is enabled.
- Notifications not appearing on the wearable: Open the companion app's notification settings and confirm each app you want mirrored is individually toggled on — the global permission alone is not always sufficient.
- Health data not appearing in Apple Health or Google Fit: These integrations require a secondary permission step inside the companion app, usually under Settings → Connected Apps.
One Phone at a Time
Most wearables maintain an active Bluetooth connection with only one phone. If you switch to a new phone or want to use the device with a second phone, you'll need to unpair from the original phone first. Attempting to connect to a second device without doing this can result in unreliable syncing or dropped connections on both phones.
For a deeper look at what your wearable can do once it's properly connected, Smartwatches Explained: What They Actually Do Beyond Telling Time walks through each major feature category in plain language. And once you're past setup, Getting Started with a Smartwatch: What to Set Up First covers how to personalize the experience beyond the defaults.